In a nutshell
- 🧪 Use a rinsed, unscented dryer sheet to create a microclimate that holds a thin film of moisture while allowing oxygen flow for rapid germination.
- 🧭 Follow the germination pouch method: damp-not-dripping sheet, seeds spaced, partially sealed bag, and steady warmth at 20–24°C with daily checks and venting.
- 🌱 Expect quicker, more uniform sprouting as stable humidity prevents stop–start imbibition and reduces pooling, lowering damping-off risk.
- 🧼 Prioritise hygiene: rinse sheets, use distilled or cooled boiled water, clean tools, label pouches, and rebuild the set-up if mould appears.
- 🪴 Transplant on time: move seedlings when the radicle is 5–10 mm or cotyledons emerge, handle only seed coat or leaves, and settle into pre-wetted compost gently.
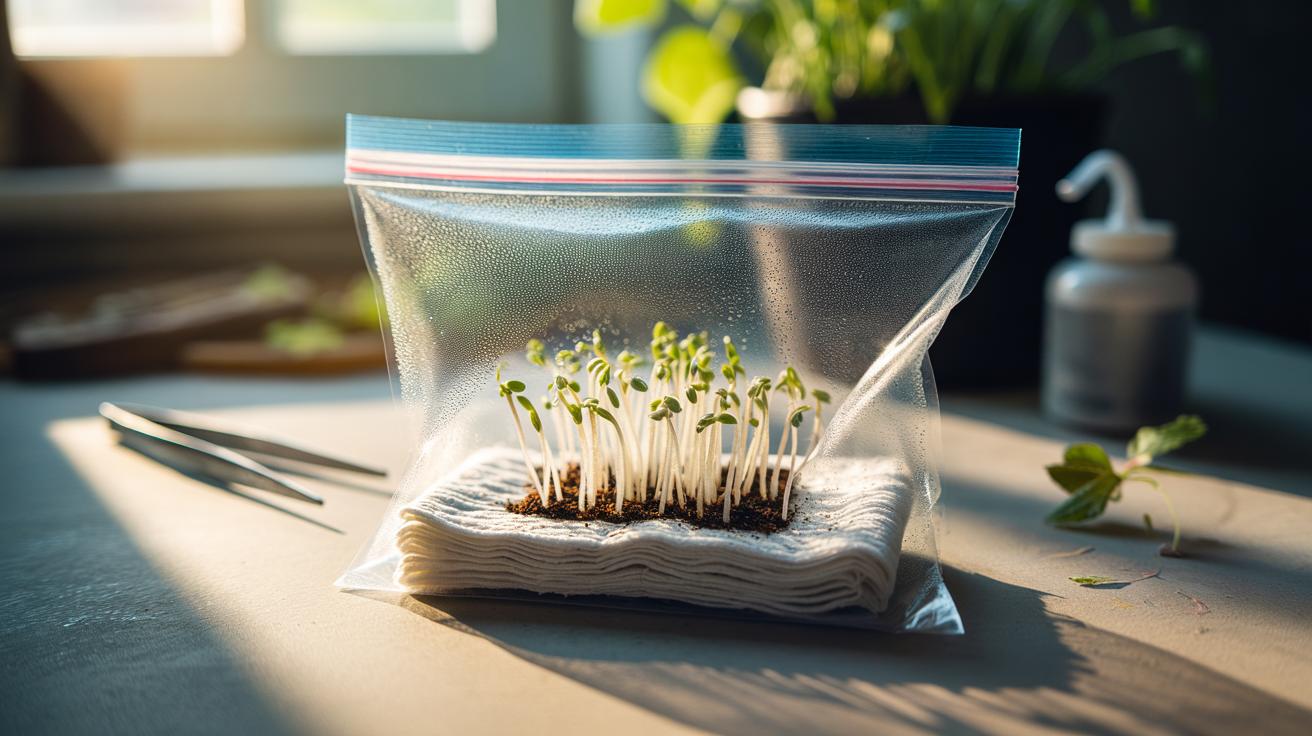
Gardeners are impatient by nature. Seeds look dormant one day and suddenly erupt the next, yet the lag can feel endless. Here’s a clever hack: a simple dryer sheet can shorten that wait. Its nonwoven fibres maintain a steady film of moisture while letting seeds breathe, creating a snug microclimate where roots burst into life. Compared with soggy paper towels or compacted compost, the sheet’s structure balances water retention and oxygen. Think of it as a miniature nursery bench. It’s cheap, tidy, and surprisingly effective. Use a new, unscented sheet and rinse it first. Done carefully, this method drives rapid, uniform sprouting without mess.
Why a Dryer Sheet Speeds Up Germination
Seeds need three things to wake: moisture, warmth, and oxygen. A dryer sheet’s tangled, nonwoven matrix acts like a sponge and a scaffold at once. It holds a thin, even film of water against the seed coat, allowing controlled imbibition—the first critical drink—without drowning the embryo. Unlike dense paper, the material stays airy, so oxygen diffusion is constant, which is vital for energy release during the earliest metabolic surge. Stable humidity around a seed cuts the stop–start cycle that delays germination.
The fibres also offer light mechanical support. As the radicle emerges, it anchors gently, reducing the risk of shearing when you check progress. Crucially, the sheet resists clumping. That means less pooling, fewer anaerobic pockets, and lower risk of damping-off fungi that love waterlogged corners. To avoid residues, choose unscented, dye-free sheets and rinse in hot water to strip softeners. You end up with a neutral, porous substrate that behaves much like a laboratory-grade nonwoven but at kitchen-drawer prices. Fast, clean, and easy to monitor.
Step-By-Step Method: The Dryer Sheet Germination Pouch
Rinse a new, unscented dryer sheet under hot water for 20–30 seconds, then wring gently. Fold it in half to make a pad. Mist with cooled, boiled water or distilled water until uniformly damp, not dripping. If water squeezes out when pressed, it’s too wet. Lay seeds 2–3 cm apart on one half, then fold the other half over to create a “pouch.” Label with a waterproof pen.
Slide the pouch into a resealable bag, leaving a small air pocket. Do not seal completely airtight. Keep at 20–24°C; a warm windowsill or propagator works. Light is optional at this stage for most species, though light-aided species (e.g., lettuce) benefit from a bright spot. Check daily. If the sheet feels barely damp, mist lightly. If condensation beads heavily inside the bag, vent for an hour to restore oxygen levels. Within 24–96 hours for many quick starters, you’ll see the first radicles. Transplant as soon as roots reach 5–10 mm to avoid tangling.
Moisture, Oxygen, and Heat: Getting the Balance Right
Germination is a balancing act. Too little water and the seed never finishes imbibition. Too much and oxygen-starved tissues stall, inviting rot. The dryer sheet’s fine pores create capillary tension that holds water in a thin layer—enough for enzymes to switch on, not enough to flood. Maintain a gentle warmth; 20–24°C suits tomatoes, peppers, brassicas, and many annuals. Cooler species (sweet peas) can sit nearer 15–18°C. Warmth speeds metabolism, but oxygen access keeps it safe. If you see cloudy condensation, briefly open the bag and dab excess with the corner of the sheet. Keep handling minimal to protect emerging tips.
| Material | Moisture Retention | Airflow | Contamination Risk | Best Use |
|---|---|---|---|---|
| Dryer Sheet (Rinsed, Unscented) | Even, thin film | Good | Low–Medium | Fast, clean pre-sprouting |
| Paper Towel | High; prone to pooling | Fair | Medium | General germination |
| Coffee Filter | Moderate, stable | Good | Low | Small or delicate seeds |
| Seed Compost | Variable | Good if not compacted | Medium | Direct-to-soil starts |
Avoid direct heat sources that dry edges while stewing the centre. Aim for consistency. That’s where the sheet shines—its structure resists extremes, keeping conditions steady and predictable.
Safety, Hygiene, and When to Transplant
Not all dryer sheets are equal. Choose unscented, dye-free versions, and always rinse to remove conditioners that could interfere with sensitive seeds. For edibles, cautious growers may prefer a quick rinse in cooled, boiled water to keep the set-up as inert as possible. Cleanliness is your insurance policy. Wash hands, use sterile tweezers, and label each pouch with species and date. If mould appears, increase ventilation and remake the pouch; contamination spreads fast in warm, wet environments.
Transplant timing is crucial. Move seedlings when the radicle is 5–10 mm or as cotyledons begin to push. Make a pencil-hole in pre-wetted seed compost and guide the root down, holding only the seed coat or leaves, never the stem. Firm gently, then water with a fine rose to settle particles around the root. Introduce light gradually for species that germinate in the dark. Don’t wait until roots web through the fibres—damage at this stage can be fatal. A steady routine now sets you up for uniform, vigorous stands later.
The dryer sheet method gives seeds a head start many beginners can replicate on a kitchen counter. It’s tidy, frugal, and ruthlessly effective at stabilising moisture without suffocating the embryo, which is exactly what early growth demands. Rinse the sheet, control warmth, and transplant promptly, and you’ll see faster, more predictable sprouting across a wide range of garden favourites. Ready to trial it side by side with your usual paper towel or compost start—and which crop will you choose for the first timed test?
Did you like it?4.5/5 (27)