In a nutshell
- 🔬 The science: a pinch of baking soda raises surface pH, speeds the Maillard reaction, drives off moisture, and creates micro-bubbles for intensely crispy skin.
- 🧂 Method essentials: pat dry, apply a light dusting of baking soda + salt to the skin side only, air-dry on a rack if possible, then roast hot and finish under the grill for shatter.
- ⏱️ Precision matters: use 1/4 tsp baking soda per 500 g, 1.25% salt by weight, cook at 220°C for 20–30 minutes, optional grill 1–3 minutes, and hit 74°C internal for safety.
- 🔥 Smart tweaks: a rack or air fryer boosts airflow; season with thyme, lemon zest, or gochugaru; blend bicarb with rice flour to soften flavour and improve dispersion.
- 🛡️ Avoid pitfalls: keep baking soda light to prevent a soapy taste, limit it to the skin, watch the grill stage closely, and maintain strict food safety and cleanliness.
There’s a hush of alchemy in a British kitchen when a tray of chicken emerges burnished and blistered. The secret isn’t some cheffy gadget. It’s a pinch of baking soda. Add it to salt, dust lightly over skin, and heat does the rest. Bubbles rise, fat renders, colour deepens. The result? Crispy chicken skin with pub-snack snap and Sunday-lunch glamour. A tiny tweak transforms texture in minutes, turning midweek thighs or wings into golden trophies. Here’s how this humble cupboard staple tilts the science of browning in your favour, why it works, and the simple steps to repeat the crunch every time.
Why Baking Soda Transforms Chicken Skin
Chicken skin is mostly water, fat, and collagen. The road to crackle is drying the surface, rendering fat, and driving the Maillard reaction. Baking soda, or sodium bicarbonate, nudges all three. It raises the pH of the skin surface, making proteins more reactive, so browning begins sooner and deepens faster.
That higher pH also encourages moisture to escape. Less surface water means efficient crisping rather than steaming. Meanwhile, small amounts of bicarbonate create microscopic CO₂ bubbles as heat climbs. Those bubbles open micro-crags in the skin, a landscape where heat can dart in and fat can run out. More texture equals more crunch.
Salt is the co-star. It seasons, then draws a whisper of moisture to the surface. Pat, air-dry, or chill uncovered to let that moisture evaporate. Combine a light sprinkle of baking soda with a measured salt rub and you’ve primed the skin for the oven’s blast. A little bicarb goes a very long way; use too much and you’ll taste it, so precision matters.
Step-by-Step Method for Shatteringly Crisp Results
1) Pat the chicken very dry. Paper towels are essential. Drier skin equals better blistering.
2) Mix a light dusting of baking soda with fine salt. Think minimal: just enough to kiss the skin, not coat it. Optionally add white pepper or smoked paprika for aroma.
3) Sprinkle the mixture evenly over the skin side only. Leave meat side un-treated to avoid a soapy edge.
4) For best results, place uncovered on a rack in the fridge to air-dry for several hours. In a rush? Rest 10 minutes at room temperature, then blot again.
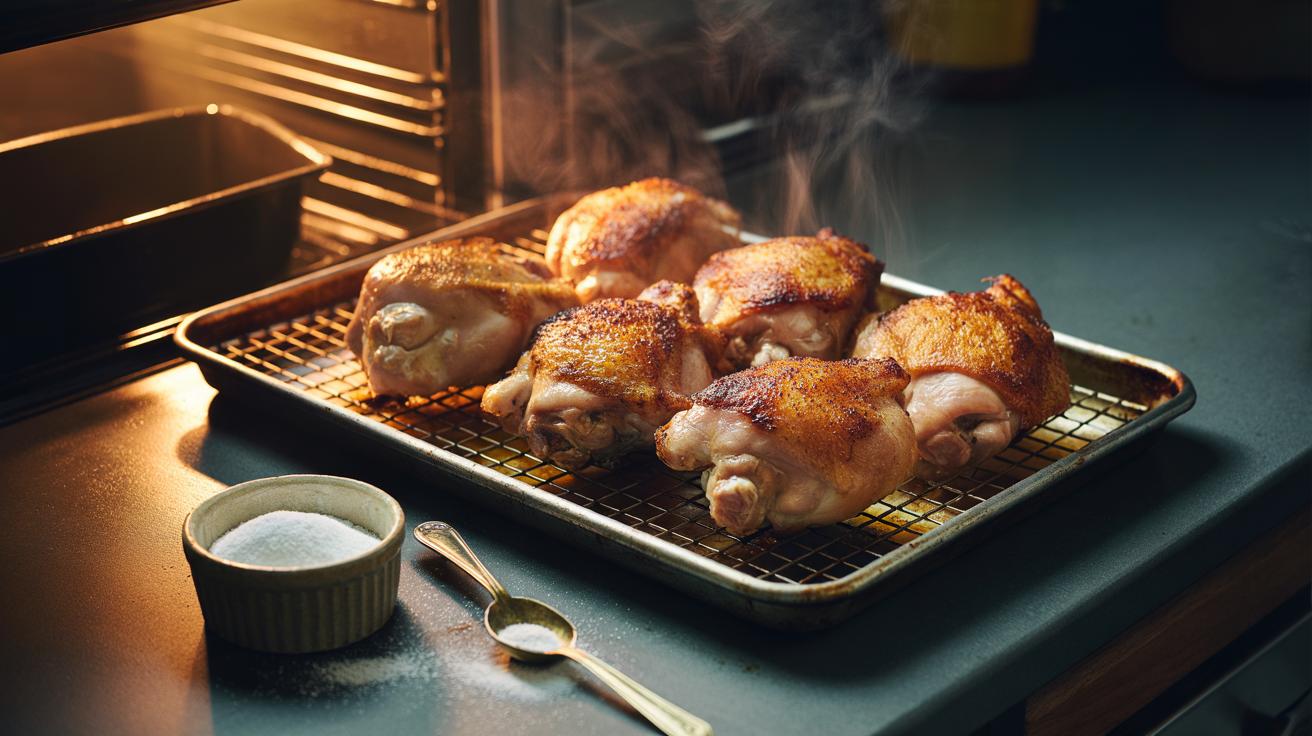
5) Roast skin-side up at a high heat until fat renders and skin turns glassy-gold. Finish under a hot grill for 1–3 minutes if you want extra snap. Do not walk away during the grill stage.
| Parameter | Recommendation |
|---|---|
| Baking soda ratio | 1/4 tsp per 500 g chicken (skin-on) |
| Salt ratio | 1.25% of meat weight (approx. 12.5 g per kg) |
| Oven (fan) | 220°C for 20–30 minutes, then grill 1–3 minutes |
| Air-dry (optional) | 4–24 hours on a rack in the fridge |
For wings and thighs, the “minutes” magic shows quickly: fat renders rapidly, and skin audibly crackles as it cools. For skin-on breasts, watch closely; pull at 72–74°C internal to avoid dryness.
Science Notes: pH, Maillard, and Moisture
The Maillard reaction, responsible for roasted aromas and that mahogany sheen, accelerates as surface pH rises. Baking soda tickles the pH upward just enough to speed browning at domestic oven temperatures. Proteins denature more readily. Sugar–amino reactions kick off earlier. Colour deepens before the meat overcooks. That’s the win: flavour and texture without sacrificing juiciness.
Moisture is the saboteur. If water lingers on the skin, heat first boils it off, delaying browning and softening texture. Raising pH alters how proteins bind water, assisting evaporation. Then there’s fat: as collagen loosens and subcutaneous fat renders, it bastes the surface from beneath. The soda’s micro-bubbling helps that fat escape into the tray instead of puddling under the skin.
Quantities matter. Too much bicarbonate can taste metallic or “soapy,” and can over-brown spots before fat has fully rendered. That’s why a scant, well-dispersed dusting is ideal, coupled with a rack for airflow. Air-drying amplifies the effect by pre-shrinking the skin and concentrating surface proteins ready to crisp on cue.
Safety, Substitutions, and Smart Variations
Food safety first: cook poultry to at least 74°C internal. Use a probe thermometer, sliding along the bone for thighs. Crisp skin is meaningless if the meat is underdone. Avoid cross-contamination by seasoning on a tray you can wash, and keep that paper towel away from raw meat juices.
Can you swap in baking powder? It works, but less predictably. Baking powder contains an acid, which partly cancels the pH lift you want. If you try it, use slightly more, and still keep it to the skin side only. For salt-sensitive diets, reduce salt but keep a whisper of baking soda; you’ll retain some browning boost. Sensitive to bicarb’s taste? Blend it 1:3 with rice flour for an even finer, less detectable dusting.
Kit choices help. A wire rack over a preheated tray encourages fat to drain and air to circulate. An air fryer produces fierce convection; drop the temperature to 200°C and check early. Seasoning ideas: lemon zest and thyme for Sunday roast; gochugaru and sesame for heat; malt vinegar powder for a chip-shop echo. Keep the soda light, the heat high, and the skin dry.
Used sparingly and smartly, a pinch of baking soda turns chicken skin into brittle, golden armour that shatters at the first bite. It’s reproducible, fast, and works whether you’re chasing beer-friendly wings or a showpiece roast. Now you know the ratios, the temperatures, and the pitfalls to dodge. What cut will you start with tonight—and which flavour path will you take to make that golden crunch your signature?
Did you like it?4.5/5 (30)